


 I use Grey Automotive primer for all of my models. Others are available but in terms of resilience of finish and reaction to the following layers you can't beat it. There are many types available but I use one from a company called SuperDec from my local hardware shop, and costs around £4 a can.
 I find black or white primers create too much of a colour contrast and can have an impact on the paints being used over the top, whilst grey is a balanced neutral base.
Step 1
Ok, after priming your figure and leaving it 24 hours to dry, I now paint on all the base colours of the figure. For my Marines I use the following Vallejo paints. Green Grey for the Uniforms, Middlestone for the helmet covers and webbing, Mahogany for the boots and weapon stocks, and Brown Violet for things like Grenades, uncovered helmets and entrenching tool handles. I use Vallejo Medium Flesh tone for the skin. and Gunmetal for the metallic parts of the weapons.
Step 2
Now that you've blocked in all the colours give the figure a coat of Army Painter Strong Tone Ink all over, apart from the skin. For the areas of skin I paint them with Army Painter Purple Ink.
Step 3
 After leaving the figure to fully dry, which can take several hours, go back over the figure with the colours used in stage 1, but restrict those tones to painting them on the raised areas, leaving the shade in the recesses. I'd also recommend not going back over the metallic areas again, as we will be making that almost black ultimately.
 Step 4
 Once you have done the base layers again mix in some white until you are happy with the contrast, I won't give ratio's or percentages as everyone's tastes are different and I tend not to be too precise about this anyway. Paint this over the highlight areas, but in smaller patches than you did with the base tones, the effect you are going for is to create a set of graduated highlights up to a very pale tone, by mixing increasing amounts of white paint in, and painting smaller areas of highlight.
 Step 5
 Now you have the figure higlighted you can either stop here and go onto basing, or if you prefer use more inks and glazes to really bring the figure to life. At this stage I paint the flesh tones with a slightly watered down purple ink again, and use a paint Army Painter Green Ink over the uniforms.
I also paint Soft Tone Ink over the webbing, boots and Helmet Cover, and Dark Tone Ink over the metallic parts of the weapons. One this is done leave the figure to dry again.
 Step 6
Now that you have re-inked your figure you can go back over the very highest points of the highlights with your final highlight tone and this will make the figure really pop as you look at it. You only need to do the tiniest of points of highlight for this to work.
Step 7
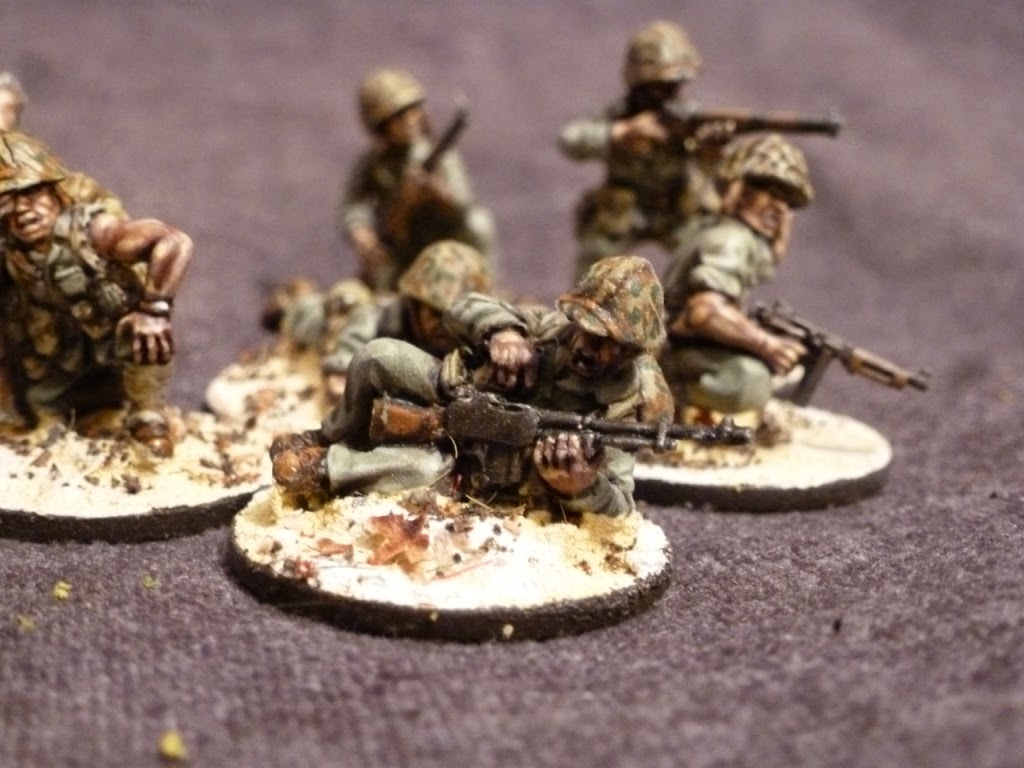
 At this stage I paint the camo pattern onto the helmet covers using Vallejo Yellow Olive and Flat Earth, and also do the eyes by painting them with the highest level of skin highlight, and then putting a dot of transparent blue paint in them. You can quite happily skip this step though as eye's can ruin a figure in my opinion if they are too large or visible.
 Step 8
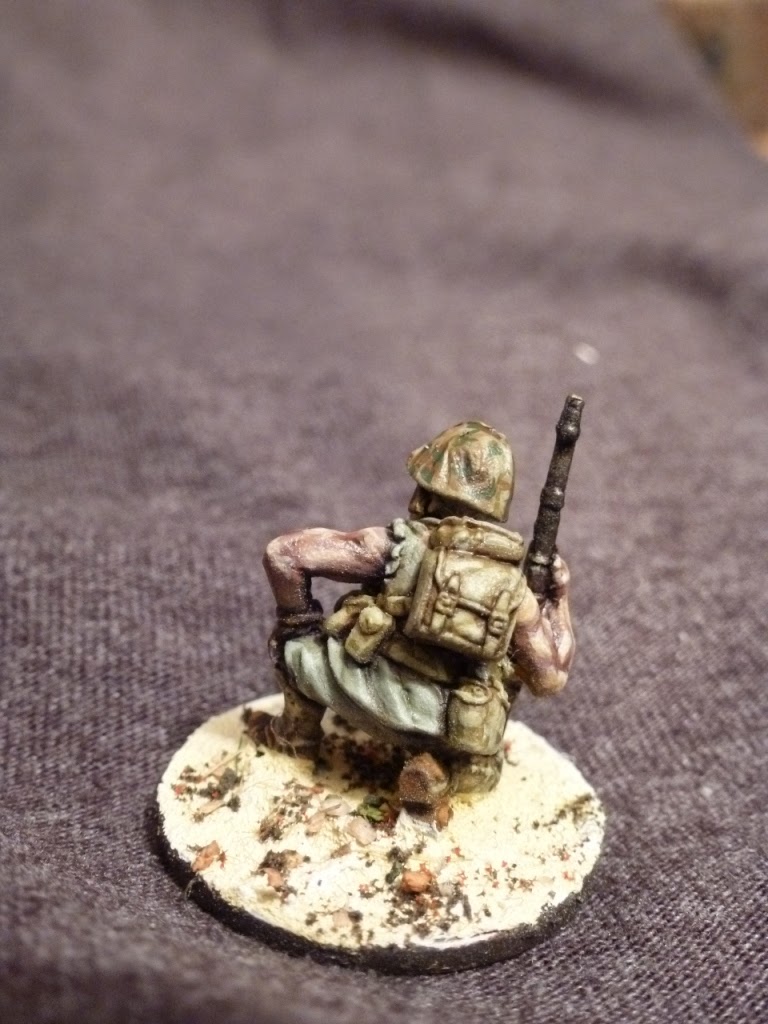
You can now base your figure! I'll talk about how I do my basing in a later article when I put my weapons teams together, but for now check out Jez's basing article.
Ready!

I tend to use the gw washes and I was wondering if the purple wash would work as the purple ink on the skin here? These models look fantastic.
ReplyDeleteTo be hones I'm not sure, I tend not to use GW paints, but if it's a solid purple colour your best mixing a little red ink into the purple too.
Delete