#header-inner img {margin: 0 auto !important;} #header-inner {text-align:center !important;}

Tuesday 14 April 2015

Beyond the Gates of Antares battle report

Hello guys and gals, here is a very quick battle reort from a couple of days ago which involved my Algoryn along with my best bud Andy's Boromites
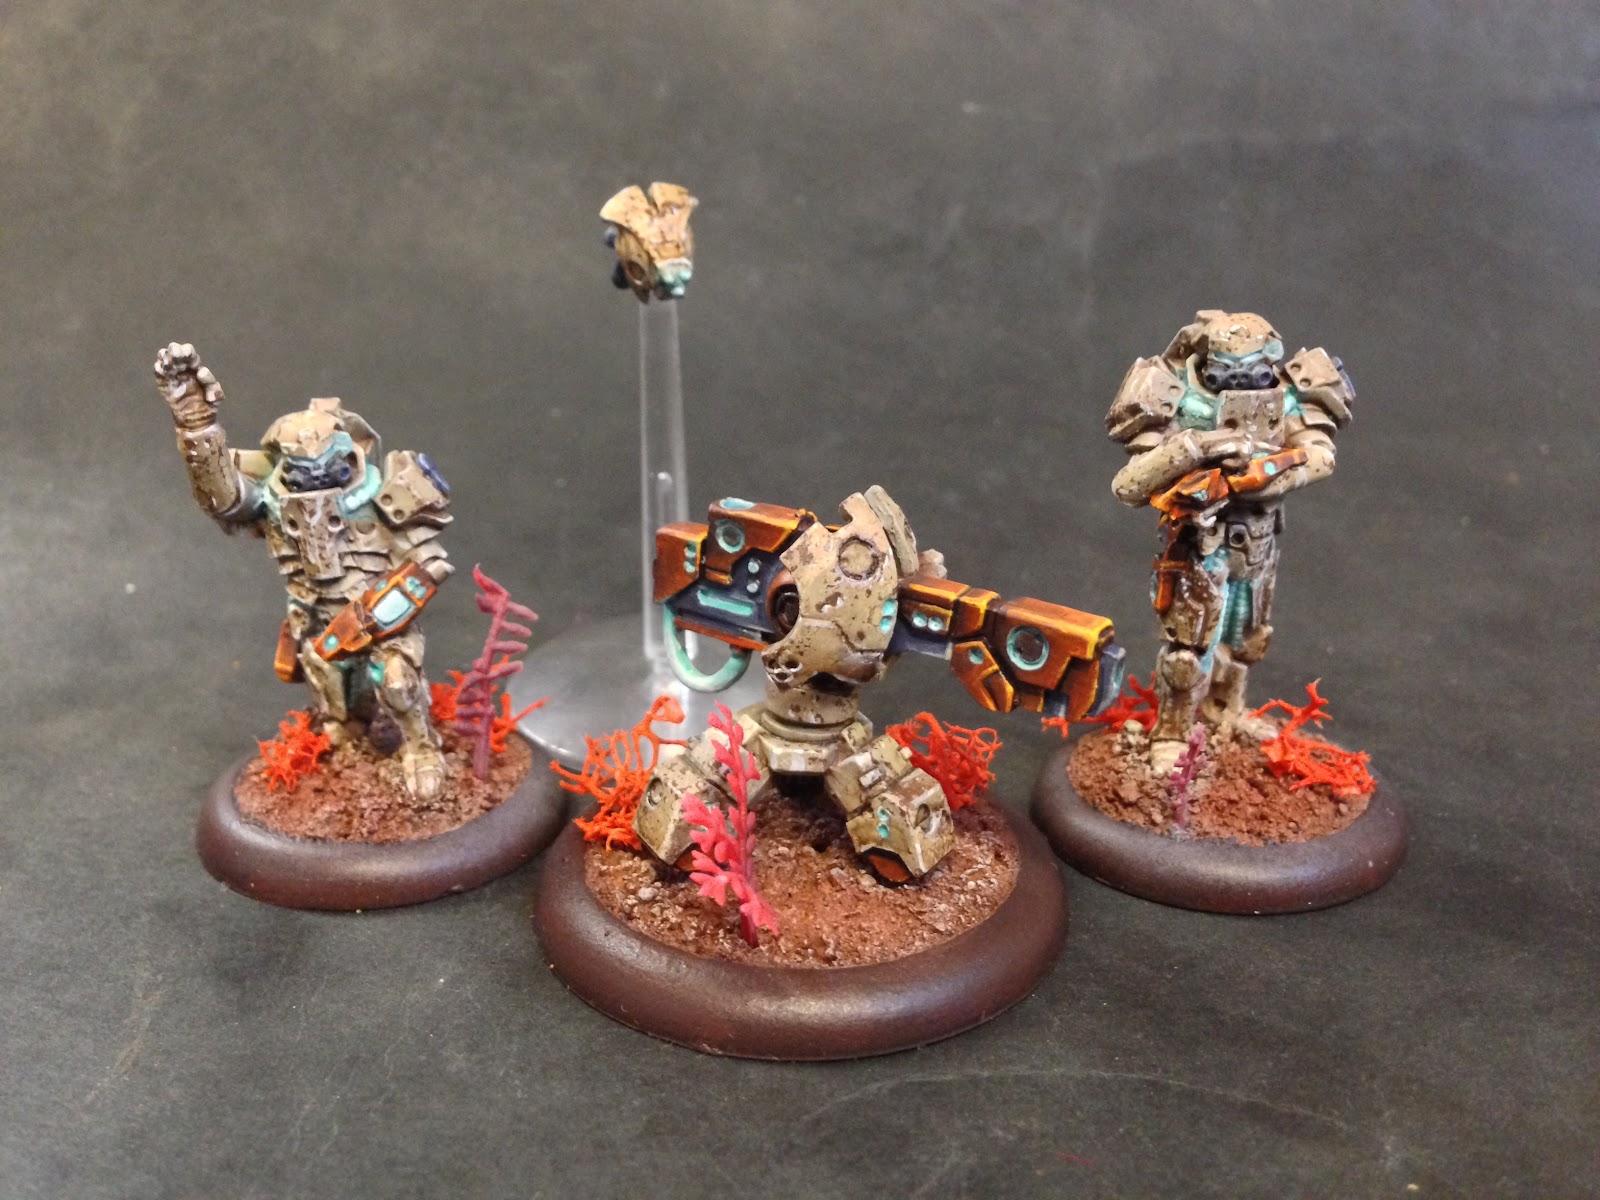
These are the forces chosen before the battle, both completely the same from the sample lists, one HQ, 2 squads of AI infantry for me and a squad each of gang fighters and a work gang for Andy, a mag repeater each and an X Launcher each. A nice even 5 dice game. 

This is the board set up, lots of cover but still with decent fire corridors. 

The troops start to move on the board, the odd pot shots start to cause pins on the Boromites and the Algoryn Mag repeater, and the respective X Launchers fire Scoot and Arc rounds. Scoot makes units move away from the area soup pounding the marker and Arc makes shots passing close to it potentially miss by arcing them away from the target. Antares has some really cool stuff in it already. 

Look, Boromites. Shoot them!

The Work Gang advancing by the circular silo is wiped out by devastatinly accurate shooting, whilst the Boromite Gang Fighter squad sprints across the gap between the silo and the tower block on the left of the pic, but are exhausted at the end and take a pin. ( in Antares you can move 5", run 10" or sprint for 15", but at the end of the move you must take an agility test and if you fail you take a pin)

There, in the distance. A Mag Repeater, kill it!

The Boromite HQ squad is crippled by the Algoryn Mag repeater, only to be finished off by an AI squad. 

On the Algoryn right flank an AI squad Gomes under fire by the Boromite mag repeater. As all the conditions were met the AI squad took a reaction test, passed it and were given a run order to get them from the open to cover, therefore denying the shot to the Boromites. In the following turn both Boromite support weapons were destroyed by long range fire and the outflanking AI unit on the right


The final Boromite falls to pistol fire from the X Launcher team members and the game is over for the lumpy boys. Algoryn win!

There you go, I hope you have enjoyed my mini battle report, and I'm sure there'll be more to come. 

Thursday 9 April 2015

Beyond the Gates of Antares. Jez's Algoryn

Hello everyone. Things have gotten a little quiet here recently, so I thought it's only fair to show you what we've been up to. 
If you have been following the Face Book 'Beyond the Gates of Antares' group you may have seen these already. For those who haven't or are saying "what on earth is Jez going on about"? here's a link to Warlords website that will explain it all. 
http://www.warlordgames.com/gates-of-antares/
This is my Algoryn army. It's been a labour of love over the last few months as I've slowly been working away at adding new units to it ready for the big release later this year. 
Currently the game is in beta testing, and I've played a few games now. I have to admit its a really good little game. The basics are built from the hugely successful Bolt Action game, but Antares is so much more than BA in space. I could talk for ages but that will have to wait for another article. 
For now I'll show you the units I've finished and tomorrow night I'll be laying a game, so I'll do a little battle report to show you how it plays. 


This is an AI Infiltration Squad. Made up purely from female Algoryn you don't want to get on the bad side of these ladies. 

This is a Mag Light Support. The equivalent of an MMG in BA. The little camera on the flight stand is a spotter drone. You'll notice a few of these dotted amount the army. They allow re rolls to hit, so they're a little useful. 

The boss. The Algoryn leader along with two bodyguards, all armed with plasma carbines, a very good and versatile rifle. 

This is an AI team with X-Launcher. The equivalent of a BA mortar, it is capable of firing some funky different types of munitions. More on that in another article. 

My favourite, the deadly Plasma Cannon. It makes things melt very effectively. 

This is an AI Assault Squad. Deadly in combat due to their wrist mounted Distort Spinners. 
Don't say you weren't warned. 

A Targeter Shard. These little drones make it easier for you to hit your target. Very useful when that unit you need gone is lodged firmly in cover


The last few pictures are AI infantry. The grunts of the army are surprisingly tough little SoB's. Armed with Mag Rifles and a Micro X-Launcher for long range support. 
These guys can handle themselves well in most situations, but a couple of units giving each other mutual support is a tough proposition for your opponent. 

So there you have it,  look out for a battle report against my very good friend Andy in the next day or two, and don't forget to read those articles on the link I posted earlier, you may recognise a couple of faces from this blog. 
You can read more about this army on my blog at www.facebook.com/jezspaintingblog 
Enjoy :D

Tuesday 17 March 2015

USMC:- First Blood

Well, my Marines have been finished a couple of weeks now, and have had their first game! 


The Battle was fought at the Marquis of Lorne Pub in Gillingham, against my mate Jays Japanese SNLF, using my SNLF figures. The game was 500 points and used the following armies:-

Japanese Army List

US Marine Army List (I forgot my army list for the Marines however, and forgot to use the mortar...)

We didn't play any specific scenario, as the game was a test to see how both armies performed. 

Deployment 


 Japanese forces are deployed at the north end of the board, the USMC are at the south end. All the terrain was soft cover, except where it completely obscured line of sight.


Turn 1: First order dice out the bag handed initiative to the Marines, who opened fire with their light howitzer, killing a large chunk of one of the Japanese squads. After this both forces advanced cautiously exchanging small arms fire, with a few pins inflicted but only minimal casualties.
 

Turn 2 again saw Both sides advancing towards one another, with the USMC laying out plenty of pins on the Japanese rendering the return fire fairly infective,  although the Japanese sniper and mortar were starting to make their presence know by killing a squad leader and zeroing in on the light howitzer. 


Turn 3 saw a Japanese squad that had been sneaking along one flank come out of cover and fire a devastating volley into one of my Marine squads, killing 5 Marines who somehow managed to pass their order test and hang in the fight. The Japanese mortar also proceeded to wipe out the Howitzer, leaving things looking grim for the Marines who again only managed to kill another few riflemen.


Turn 4 and the Marines managed to fail several critical order tests allowing the Japanese to consolidate their positions, luckily the dice also abandoned Jay, and turn 4 was largely ineffective on both sides. 


 Turn 5 involved the Japanese launching a Banzai charge and assaulting one of the remnants of my weakened US Marine squad, and killing them all, but taking casualties in the process. My undamaged Marine squad and .30 cal between them managed to shoot a Japanese squad to death as well, leaving the game very much in the balance and both armies significantly reduced.


Turn 6 and the Marines managed to get their hands on the order dice, launching a devastating barrage of shooting, killing another Japanese Squad. although also failing to activate the other largely intact squad that was in cover. In retaliation the Japanese assaulted my 2nd LT who killed one of his attackers, only to fall at the last minute. The Japanese LT charged my large squad, and was cut down by the Marines. 


At the end of the game we had both had 3 units killed, and the rest of our forces were covered in pins and casualites, so the game was declared a draw. We both had a fantastic time, and the whole thing felt immensely cinematic. Personally I love playing Bolt Action at the 500 point mark, however my next game is against John Lambshead, and he USMC will be up against 1000 points of John Japanese! 

As ever more of my work can be seen here at Volley Fire Painting 

The Marquis of Lorne Facebook page is a great way to contact Jay if you would like a game at the pub  

Warlord Games can of course be found here


Monday 9 March 2015

The Burma British are complete!

That's right guys and gals, the second 500 points are now complete which can only mean one thing, yes that's right, the 1000 points is done! In this picture you can see the additional units required to take it to completion, an M3 Lee, Bren carrier, and 2 sections of Gurkhas. 
This is the first section of Gurkhas, 5 men all armed with rifles. They ride in to battle on board the Bren carrier, shooting the enemy up with the inboard LMG's before disembarking to shoot up the same target at close range before finishing them off in close combat (hopefully!)

A section of nine Gurkhas with rapid fire finishes out the infantry. So far these have proved a real thorn in the side of their enemies, being effective at range, very effective in combat and very tough to kill as they're veteran troops. 
Thinking about it I wouldn't mind an army of them!

The M3 Lee was an iconic vehicle of WW2, and although it fell out of favour in Europe, it continued fighting throughout the war in the Far East, it's thinner amour proving not so much a hinderence against their Japanese enemy's anti tank capabilities. 

The universal carrier or Bren carrier was a utilitarian vehicle employed for many tasks in the Burmese theatre. This is a vehicle that I've toyed with dropping from the list on a number of occasions, however I've stuck with it and it's proved it's worth multiple times, most notably in its last game when 2 panzerfausts and a heavy anti tank gun round bounced off it.
I have now nicknamed her 'Impervious' lol. Besides, the Gurkha section would get angry if they had to walk now, and I don't want any angry Gurkhas thank you very much!

The final pictures show the finished army all together and an action shot as they stalk through the Burmese jungle. 
I hope you have enjoyed the series of articles over the last couple of months, and I'm hoping you'll enjoy what we have planned for the upcoming months, it should be very exciting indeed!

As always if there anything you would like to know, or would like to see, please don't hesitate to pop a comment below.
Enjoy, Jez. 

Sunday 8 March 2015

Oorah! USMC Complete!

I am very proud to announce that my force for the Tale of Bearded Gamers is complete! I've tweaked the army list a little from when I first created the army, but here is the  list, and here are the pics of the army!


This was a fantastic force to collect, as the US Marine models are stunning, and so full of character.


 I found having the force mapped out from the start, and a rough deadline to completing the project was a massive aid to remaining motivated.  For anyone struggling or getting bogged down in a project I would recommend doing something different, whether that be painting something or a different force, maybe making some terrain, or even just having a few days off painting all together. 


What I discovered was that even with a rough deadline to work towards I found if I allowed enough looseness to the plan that it meant I didn't feel under any pressure to complete the models, and that I when was working on them as I enjoyed them far more than if I had rigidly enforced the time I would spend on them.


 I hope you've enjoyed following my Marines progress so far, and I'll be writing about their exploits in a few battle reports in the next few weeks!